100Cr6 doctor blade steel strip
100Cr6 is a hardened and tempered carbon steel used for printing doctor blade applications. The grade is a standard martensitic steel, particularly suitable for non water-based and UV inks and is characterized by:
- Very high wear resistance
- Good straightness
- Excellent edge finish
- Good dimensional tolerances
Standards
- DIN: 100Cr6
- SS: 2258
Chemical composition (nominal)
Chemical composition (nominal) %
| C | Si | Mn | Cr |
| 1.00 | 0.25 | 0.30 | 1.4 |
Forms of supply
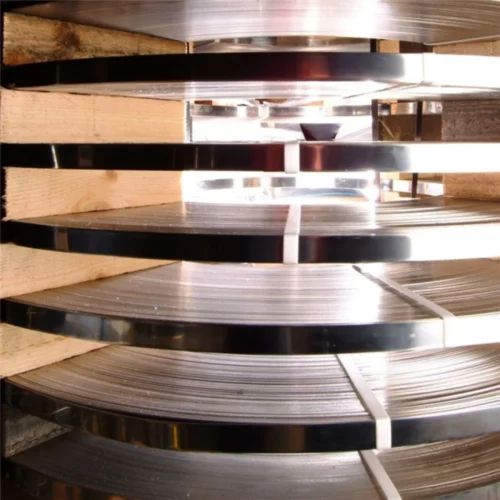
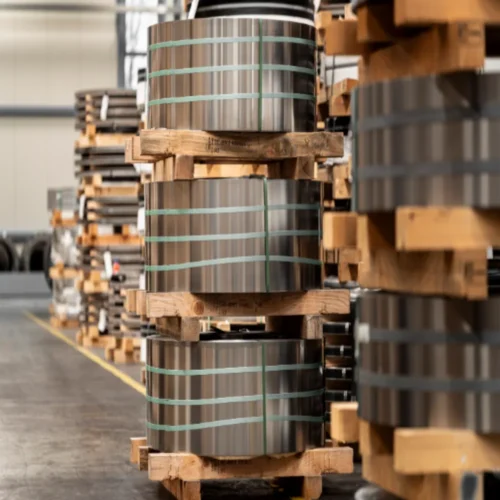
100Cr6 is supplied in coils with inner diameter 350 mm (13.8 in.). Approximately 15 meters of strip material is unshaved on the innermost rings of the coil.
Dimensions
| Thickness mm (in.) | Width mm (in.) | ||
| min. | max. | min. | max. |
| 0.076 (0.003) | 0.305 (0.012) | 8.00 (0.315) | 70.0 (2.76) |
Other sizes can be offered on request.
Surface condition
Surfaces offered are blue or white polished.
Surface roughness
Surface roughness is measured transversal to the rolling direction with a cut off length of 0.25 mm (0.0098 in.).
| Thickness mm (in.) | Ra µm (µin.) | Rmax µm (µin.) |
| 0.076 (0.003) – 0.305 (0.012) | (Y8) 0.05 – 0.125 (2 – 5) | 1.5 (60) |
Surface defects
Maximum allowed depth of surface defects (excluding burrs):
| Thickness mm (in.) | Scratches µm (µin.) | Single minor surface defects µm (µin.) |
| 0.076 (0.003) – 0.305 (0.012) | ≤ 5 (200) | ≤ 5 (200) |
Edges
As standard, strip is supplied with round, shaved edges with no sharp corners and with no friction-induced martensite. Edge surface defects such as pits or burrs, ≤ 5 µm (200 µin.).
The edge radius should be at least equal to half of the strip thickness.
Tolerances
Shape
Straightness
Width > 12.1 mm, R spec = max. 1.4 mm deviation on a 3000 mm length.
Widths < 12 mm, R spec = max. 2.5 mm deviation on a 3000 mm length.
Flatness
Cross bow hardened and tempered strip (H/T) in all tensile strengths (P1 is the Alleima standard).
| Tolerance class | Cross bow % of width |
| H/T condition | |
| P0 | No requirements |
| P1 | max. 0.4 |
| P2 | max. 0.3 |
| P3 | max. 0.2 |
Other tolerances may be possible on request.
Width (B1 is standard)
| Thickness | Width | Width tolerance +/- mm | ||
| mm | mm | B1 | B2 | B3 |
| 0.076 – 0.25 | 8 – <20 | 0.07 | 0.05 | 0.03 |
| 20 – <50 | 0.10 | 0.07 | 0.05 | |
| 50 – <70 | 0.15 | 0.11 | 0.07 | |
| 0.251 – 0.305 | 8 – <20 | 0.10 | 0.07 | 0.05 |
| 20 – <50 | 0.15 | 0.11 | 0.07 | |
| 50 – <70 | 0.20 | 0.15 | 0.10 | |
Thickness (T1 is standard)
| Thickness | Width | Thickness tolerance +/- mm | ||
| mm | mm | T1 | T2 | T3 |
| 0.076 – <0.1 | 8 – 70 | 0.006 | 0.005 | 0.004 |
| 0.1 – <0.125 | 8 – 70 | 0.007 | 0.005 | 0.004 |
| 0.125 – <0.16 | 8 – 70 | 0.009 | 0.006 | 0.005 |
| 0.16 – <0.2 | 8 – 70 | 0.01 | 0.007 | 0.005 |
| 0.2 – <0.25 | 8 – 70 | 0.011 | 0.008 | 0.006 |
| 0.25 – <0.305 | 8 – 70 | 0.013 | 0.009 | 0.007 |
Mechanical properties
| Thickness mm (in.) | Tensile strength Rm | Hardness* | |
| MPa | ksi | Vickers, HV | |
| 0.076 (0.003) | 2100 +/- 100 | 305 +/- 14.5 | 610 +/- 25 |
| 0.102 (0.004) | 2100 +/- 100 | 305 +/- 14.5 | 610 +/- 25 |
| 0.152 (0.006) | 2050 +/- 100 | 297 +/- 14.5 | 600 +/- 25 |
| 0.203 (0.008) | 2000 +/- 100 | 290 +/- 14.5 | 590 +/- 25 |
| 0.254 (0.010) | 1950 +/- 100 | 283 +/- 14.5 | 575 +/- 25 |
| 0.305 (0.012) | 1900 +/- 100 | 276 +/- 14.5 | 560 +/- 25 |
* Hardness (HV) values are given for information only.


